halloween

DIY: Sugar Skull Candy Bowl

Make a bright and colorful sugar skull candy bowl to decorate your home for Halloween. Click to see the tutorial.

Yep, it's that time of year again!

I had so much fun making my Halloween apothecary last year that I've decided to get creative again this year.

Halloween is one of my favorite time of year to do crafts and decorate. There's just so much creative freedom. You can get as wild as you want and no one will blink twice.

I actually started this project last year but never got around to finishing it. You know how it goes right? You start a million projects on an inspiration wave, then you loose it and half of those projects get forgotten in a distant corner of the house for a few months...and sometimes more.

Does anyone else do that?

I've also been known to go into a craft store for a very specific thing and come back out 3 hours later with half the store in my bags. Oh, did I mention my very awesome and patient husband was waiting in the car the whole time?

Yea, he doesn't come anymore. 

Back to my project. So I saw this skull at the dollar store and I immediately thought it would be fun to turn it into a sugar skull to decorate my living room.

When I shared my idea with my husband, he mentioned it would be cool if it was a candy bowl. I swear, he's totally a creative inside. So off he went to drill. Awesome right?

So anyway, this super skull is chilling on my table right now, but I took out all of the candy because otherwise, my toddlers will at them all in a single sitting.


Have you created anything for Halloween? Are you making your own costume? What will you dress up as?


My boys and husband have asked to be the 3 musketeers so that's what my next project is going to be. If you're looking for me in the next 2 weeks, I'll either be raiding the dollar store or at my sewing machine.

See you all next week! :)

The materials to make a Halloween sugar skull candy bowl; skull, paint, paint brushes, sparkles, flowers.

MATERIALS

Plastic skull
Acrylic paints
Paint brush
Palette
Artificial flowers
Glue gun
Candy (!!)

Spray paint your skull white first.
Cut a hole at the top of the skull and paint a face in black.
Have fun, add shapes and color to your sugar skull candy.
Glue some artificial flowers around the hole of the skull and fill it with candy!

STEPS

1. Paint the entire skull white. I used spray paint but you can just as easily use a paint brush and acrylics.

2. Cut a hole at the top to insert your candy. I asked my husband to do it with his hand drill, it took him about 2 minutes.

3. Paint the eye sockets, nose hole and teeth outline in black. You can use any color you want at this point, have fun and be creative!

4. Decorate with pretty patterns around the eyes, the forehead and chin. You can embellish with faux jewels or even glitter!

5. Cut some artificial flowers and hot glue them around the head to form a flower crown. I glued them around the hole.

6. Fill with candy and enjoy!

The complete Halloween sugar skull candy bowl. A super fun craft for Halloween. Click through for tutorial.

Halloween Apothecary

A super cute and fun Halloween apothecary DIY; poison, love & flying potions, unicorn tears, fairy dust, disappearing air... anything goes! Click through for tutorial.

I am so unbelievably psyched right now (and a little ahead, but I just couldn't wait!). I've been thinking about this project for EVER and it's finally done. Isn't it just cool? Magic potions guys. MAGIC! Anyone want to fly? Fall in love? Well...you're in for a treat because today, it's all possible! Just don't drink the poison ok?

I've been collecting all sorts of different glass bottles. Ketchup bottles, essence bottles, oil dispensers, maple syrup jars, soya sauce bottles, fizzy water bottles... even alcohol bottles (that others give me because I don't drink).

With a sprinkle of Fairy Dust and a Unicorn's Tear, let me present to you my new favorite Halloween decoration, the Apothecary, magical potions included! Right now I'm using it as a table center but come Halloween, this baby's going to be next to my big cauldron full of candy.

I love Halloween. It's the only time of the year where you can get crazy creative and have no one judge you. Always wanted to be a princess? No problem. Prefer being a naughty nurse. You got it. Secretly think you're a spy? Live it out! Personally, I'd love to dress up Steampunk with a big pouffy dress.

Halloween apothecary.

Materials

Glass bottles
Water
Food dye
Glitter
Beads
...and anything else you'd like to put in your bottles

Materials for Halloween apothecary.
Food dye, glitters, jewels and dried flowers; materials for Halloween apothecary.
Glass bottle collection for Halloween apothecary.

Tools

Paper
Tags
Baker's twine
Scissors
Pen
Tape

Scissors, tape, paper, tags, pen and string; tools for Halloween apothecary.

Steps

1. The first thing you want to do is fill your bottles and jars. I filled mine with beads, dried flowers, glitter and of course, colored water. I left some empty as well, just for decor.

2. Next you want to identify your bottles. You wouldn't want to confuse the Poison with the Love Potion! I used tags for some, and for others I used props.

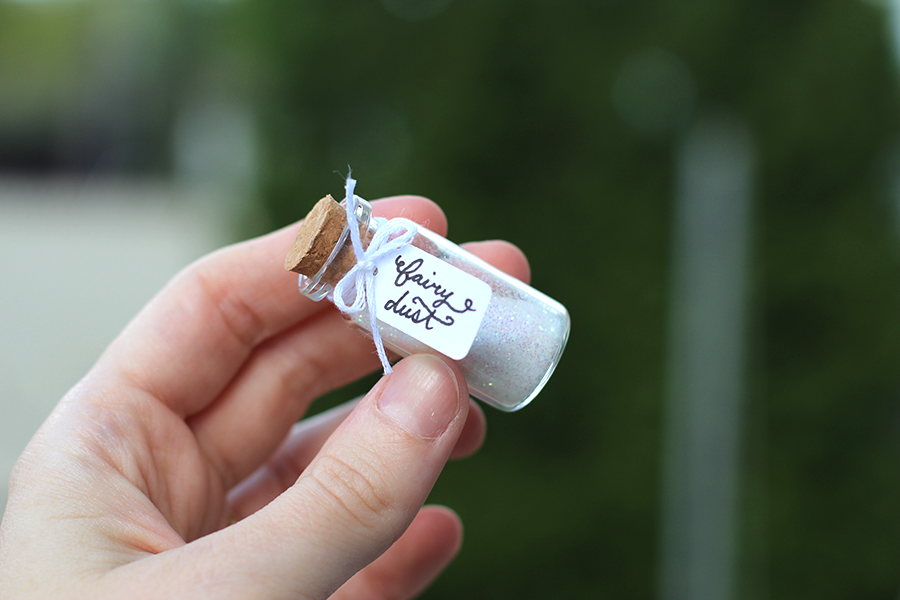
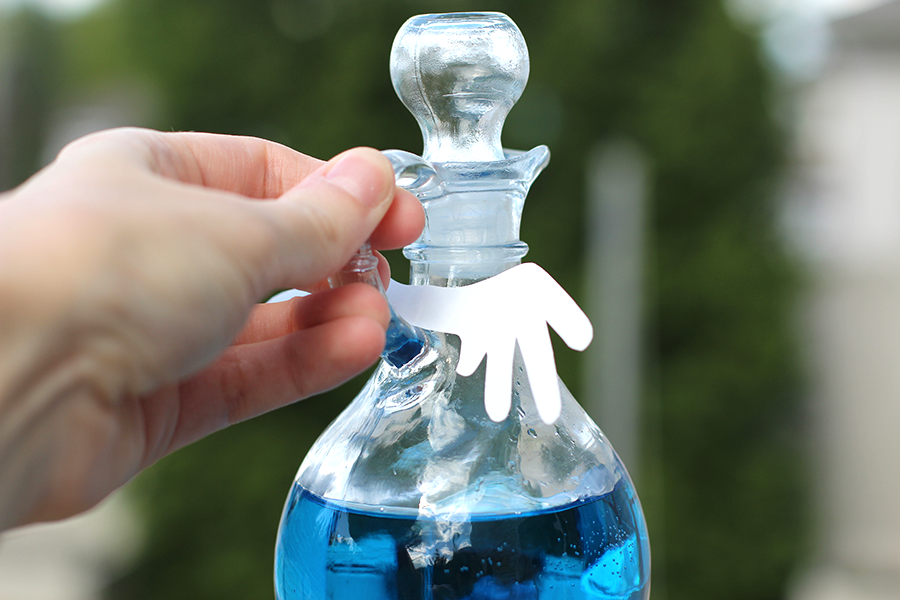
3. Decorate!! For the poison I added a skull on top of the jar. I got a whole bunch at the dollar store for a buck. I added a simple tag with pretty lettering for the fairy dust. Glitter!! Don't you just love glitter? And for the the flying potion I added some wings!

Add colored water, glitter, jewels and dried flowers to bottles.
Make labels and props to decorate the bottles.
Add plastic skull to poison bottle: death imminent!
Add a tag and string to the fairy dust bottle; it's magical!
Add some wings to the flying potion! Flying?!?!
A super cute and fun Halloween apothecary DIY; poison, love & flying potions, unicorn tears, fairy dust, disappearing air! Click through for tutorial.

So there you have it. A super cute and fun Apothecary! This Halloween DIY is super easy so even kids could jump in and decorate a few bottles. You could use a few plastic ones if you're concerned they might break them. You could even paint them. Be creative! :)

What kind of decor will you be making this Halloween?