homemade & natural

DIY: Basic Shea Coconut Lip Balm

Homemade-natural-lip-balm-DIY-tutorial-using-shea-butter,-coconut-oil-and-beeswax.-It's-super-moisturizing-and-can-make-a-perfect-quick-homemade-gift-for-family-and-friends.

Ever since I made my homemade + natural moisturizing lotion recipe , I've been on a quest to eliminate as many chemicals from my home as possible. Some of it involves making my own products like these homemade baby wipes. I've also been trying out a few cleaning and body care products from different brands.

It's been quite an intense journey to be honest, mainly because my life has been on overload recently, but also because I never realized just how many chemicals are around us on a daily basis, it's actually kind of scary! Anything from our skin care routine, to bathing, to cleaning our home, in our food, even our mattress and our car contains harmful chemicals, can you imagine?

With that being said, I have no intention of turning into a full on Green Holistic Naturalist (or whatever you call people that are 100% natural living) but I do hope to find some kind of balance and be more intentional in my everyday life without compromising my happiness and that of my family. Life is just to short to not enjoy everything you love.

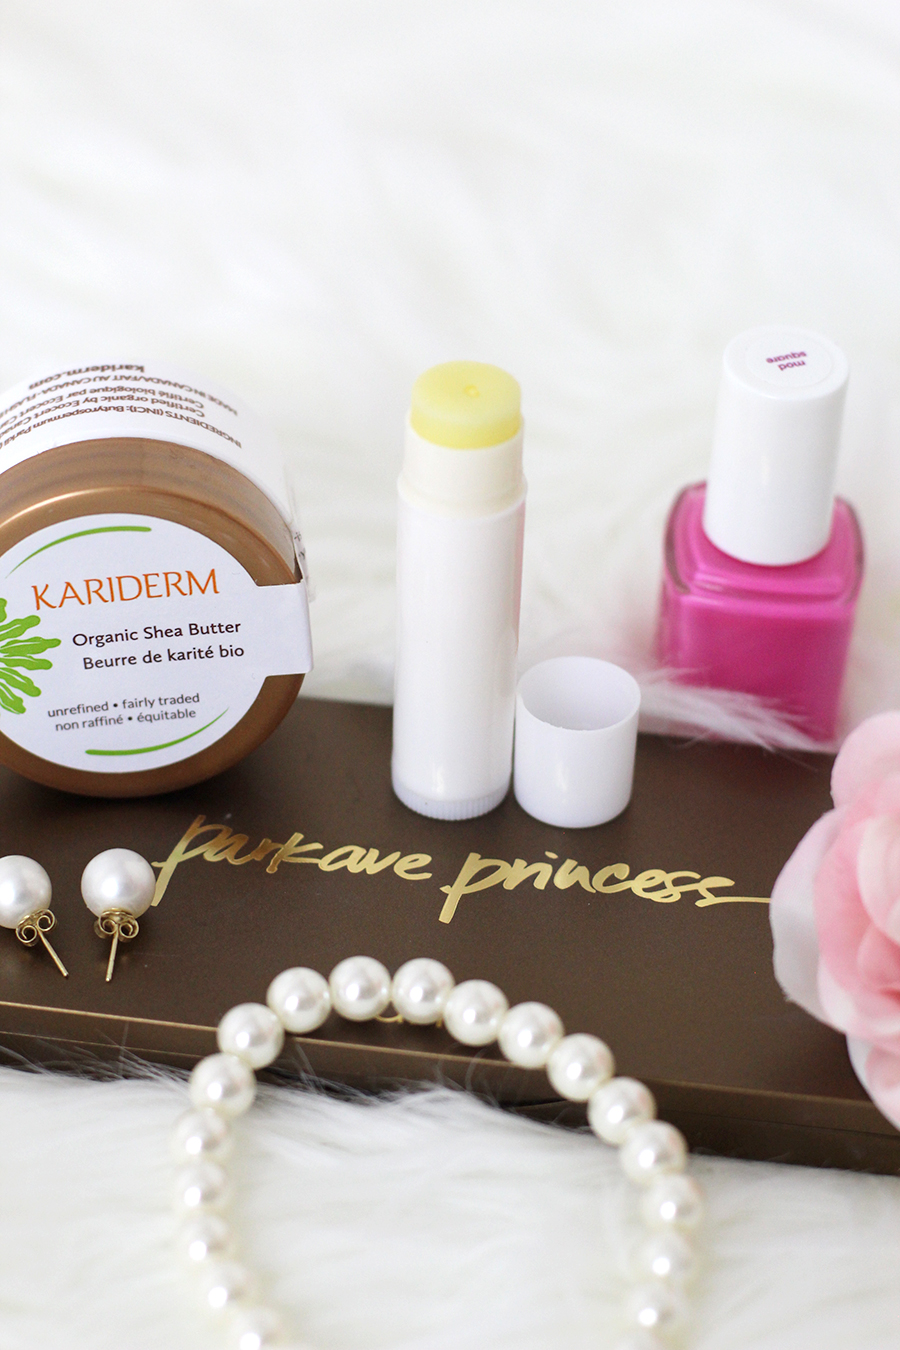
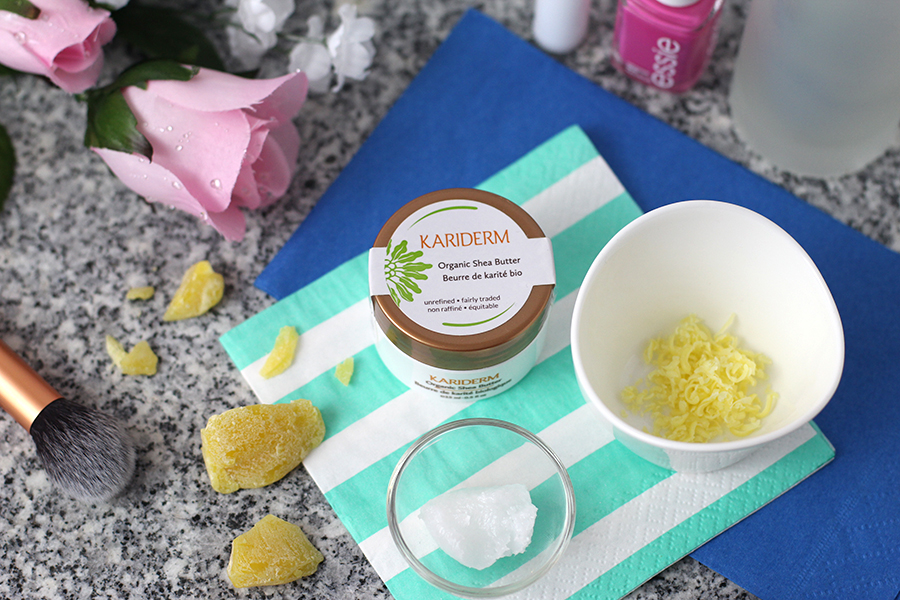
Today I want to share with you a super easy basic shea coconut lip balm recipe. I'm using raw, pure and fair trade Shea butter from Kariderm. It's my absolute favorite product from their company. The texture is super light, it absorbs quickly and has intense moisturizing action. I use it in practically all of my homemade body care products.

These-are-the-3-ingredients-it-takes-to-make-shea-coconut-lip-balm;-shea-butter,-coconut-oil-and-beeswax

Materials

1 tsp Shea butter
1 tsp Coconut oil
2 tsp Beeswax (grated)

Tools

Glass bowl
Pot
Pipette
Lip balm tube

Steps

Heat all ingredients in a glass bowl over a hot pot of water, on low heat. If you have a double boiler, you can use that too. When I'm in a hurry, I do it in small increments in the microwave, but I really don't like using the microwave too much so the stove top is my favorite way. Once everything is melted, mix it a bit, then transfer the mixture to the lip balm tube using the pipette (the recipe is enough for 2 tubes). Wait until it cools and enjoy!

This is super quick and easy to make and it's surprisingly moisturizing. It's been my go-to natural lip balm for quite some time now and although I keep trying different brands once in a while, I always return to my homemade one. It's also a super fun, thoughtful and intentional gift to make for your friends and family.

What kind of skin care products have you tried making at home?

Quick-and-easy-natural-lip-balm-DIY-tutorial-using-shea-butter,-coconut-oil-and-beeswax.

Disclaimer: This post was sponsored by Kariderm. The Shea butter was sent to me at no cost. All thoughts expressed in this post are my own.

Vanilla Bean Sugar Recipe

vanilla bean sugar flavor homemade.png

I've been working on an easy vanilla pudding mix recipe to go with my chocolate pudding mix recipe. I wanted to have to add as few things as possible other than milk, so I thought it would be a good idea to have some vanilla flavored sugar. Since I've been trying to do everything as much homemade as possible, I figured this would be a perfect addition. It would also make a deliciously quick and easy homemade gift idea.

Ingredients

1 cup of Sugar
1 Vanilla Bean

vanilla bean sugar ingredients.png

Steps

1. Cut along the vanilla bean and scrape the seeds out.

2. Mix the vanilla seeds with the sugar, then add the vanilla bean cut in pieces.

3. Put in an airtight container and let sit for 1 week.

IMG_2073.png
homemade vanilla sugar.png

You can use this sugar in anything you want: milk, coffee, tea, cakes, puddings, milkshakes... That way you don't need to add vanilla essence or syrup!

It came out tasting quite strong and gets stronger the longer you leave the beans in. If you're looking for something a little less strong, you can use 2 cups of sugar with 1 vanilla bean. I'd also suggest removing the beans (not the seeds - obviously, lol) after a couple of weeks, or when the taste is strong enough for you.

DIY: Homemade and Natural Lip Balm

homemade natural lip balm with coconut oil.png

Ever since I made my natural homemade moisturizing lotion, I've been wanting to make more and more of my own beauty products at home using natural ingredients. I am trying to minimize all the unnecessary chemicals in my family's life. I've been using this recipe for about a year now and I'm very satisfied with it. It goes on smooth, doesn't smell like anything (unless you add essential oil) and absorbs super quickly. Most important of all, it moisturizes very well.

Ingredients

1 tbsp Coconut Oil
1.5 tbsp Beeswax

Optional

Drop of Essential Oil (I used peppermint)
Drop of Vitamin E (acts as preservative for large batches)

ingredients for homemade lipbalm beeswax and coconut oil.png
peppermint essential oil and vitamin e.png

Steps

1. Combine Coconut Oil with the Beeswax. Microwave until melted.

There are many kinds of Coconut Oils; some are harder than others at room temperature. Because of this, the first time you make this recipe, I suggest starting with small portions and only melting a bit of the Beeswax at a time (melt, allow to harden for a few hours, test with finger, then add more if necessary). I strongly suggest you do this because there is nothing more annoying than a lip balm that's hard as rock! Once you've figured out the exact proportions, you don't need to do this again.

2. Pour in container, let sit until set.

coconut oil and beeswax.png
melted beeswax and coconut oil.png

Do you have any natural homemade recipes? By the way… you could also add any other oil you like. Just use the same oil/beeswax ratio and do the hardness test. c:

easy homemade lipbalm.png

Disclaimer: This recipe is homemade. I am not a health professional, I am simply a mother trying to find simple and chemical-free solutions for my family. This lip balm works great for us but it may not work for you and I take no responsibility for that.

Disclosure: This post contains affiliate links. I will be compensated if you make a purchase after clicking them.