Hi guys!
As some of you may know, last year at around this time, I gave birth to a second beautiful baby boy. It's been a true blessing to be surrounded by so much pure joy and love. Alas my return to work was inevitable, and so a new life has begun.
Other than my return to full time employment, a lot has happened since I last posted. We planted our garden and worked on our yard a lot. We visited the zoo and spent some quality alone time together as a family. I also had to slowly integrate my 1yo to daycare (my heart just shattered right there), we took turns being sick (ugh!) and dealt with loss. It's just been a rough few months and we're not out of the woods yet.
On a happier note, both of my boys celebrated their birthday this month, so I spent a lot of time in decor & food projects. As I'm sure a lot of you can relate, not all of my projects worked out quite as planned.
First, there was the beach look-alike cake I tried to make. I made a white cake and crumbled it so it would look like sand. I put the pieces in a cake mold to cover half the space, then I added a cookie sheet to put blue jello on the other side (you know... water). The cake ended up super dense because I pressed it too much, and the jello ended up soaking the edges of the cake. Anyway, it was a complete failure, but we ate it anyway!
Then there was the fire mantle which I thought would look awesome painted gold. It does not. I mean, it doesn't look bad, per se, but it sure as hell don't look like I thought it would. It just looks too gold. You know? Anyway, it's going to stay like that for a while because with my full time job, among everything else, I just don't have time for the details.
I also made a kind of starfish/flower birthday crown for my baby. It looks OK, but it's not fabulous. To be honest, I probably tried to be too fancy with my ideas. Sometimes simple is best.
I made a ton of other things with random materials and props, like fabric, cardboard, flowers, paint, shells, faux starfish, glitter, glue... and I will be sharing those which I had time to photograph.
For the projects that didn't plan out, I'll be posting some of them anyway since they technically still are good ideas. I might give them an update in the future, see if I can make it work better. Who knows, it might inspire someone!
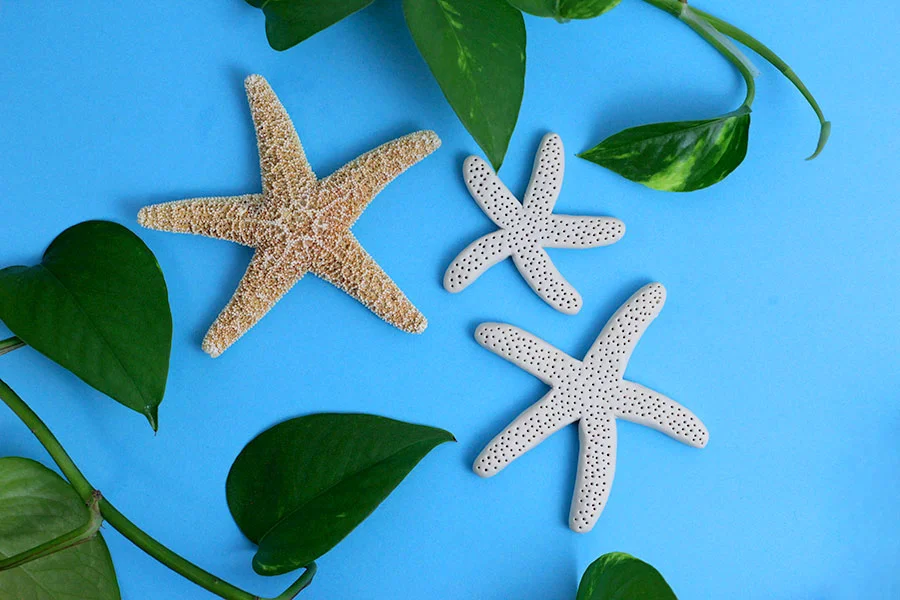
Without further ado, here is how I made faux starfish with polymer clay for my littlest's beach themed party.
Materials
Polymer clay (I used Sculpey, but I prefer Fimo)
Acrylic paint
Tools
Exacto knife
Toothpicks
Cookie sheet
Paint brush
Paint palette

Steps
1. Warm up you clay by working it with your hands.
2. Make a ball then flatten it.
3. With an exacto, make 5 triangle incisions & remove the extra clay.
4. Round off the edges with your warm hands.
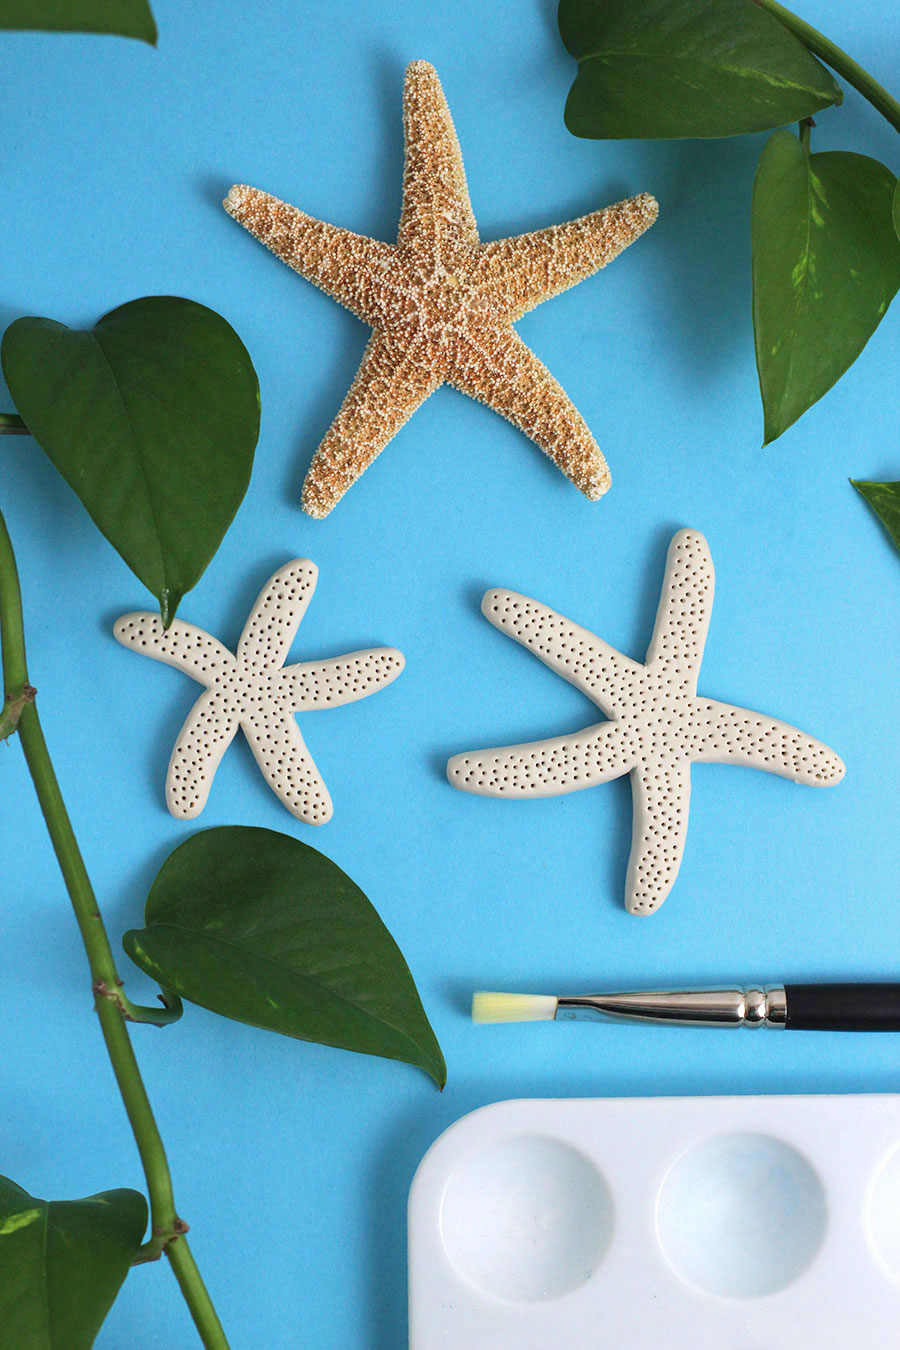
5. Using a toothpick poke little holes over the surface of your faux starfish.
6. If you plan on hanging them, push a hold through one of the arms. (Optional)
7. Bake according to the manufacturer's instructions.
8. Paint as you see fit; I mixed white and orange together to make my starfish a pale orange-y color.

There you have it! Beautiful starfish using clay.
I used these in a number of projects so stay tuned, in coming posts, I'll be showing you a few things you can make with your beautiful faux starfish!